How to Create a Site on Breeze?
Let’s see how to create a store on Breeze in 3 simple steps.
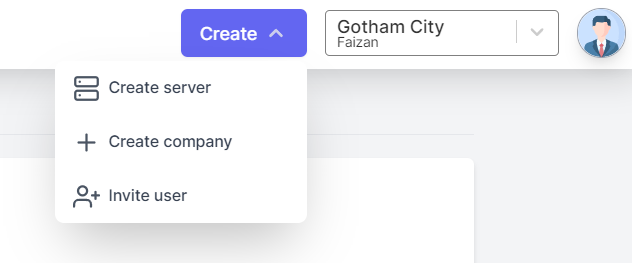
#1 Create your Company.
Click on the ‘Create’ button on the top bar, and create a New Company.
You will be adding your store under this Company. (Learn more about Companies.)
Once the Company is created, you have to add the SSH Key to the Company.
You can:
Add the Key before creating Server
#2 Creating the Server
Click on the ‘Create’ button on the top bar and Create a Server.
Step 1: Server Setting
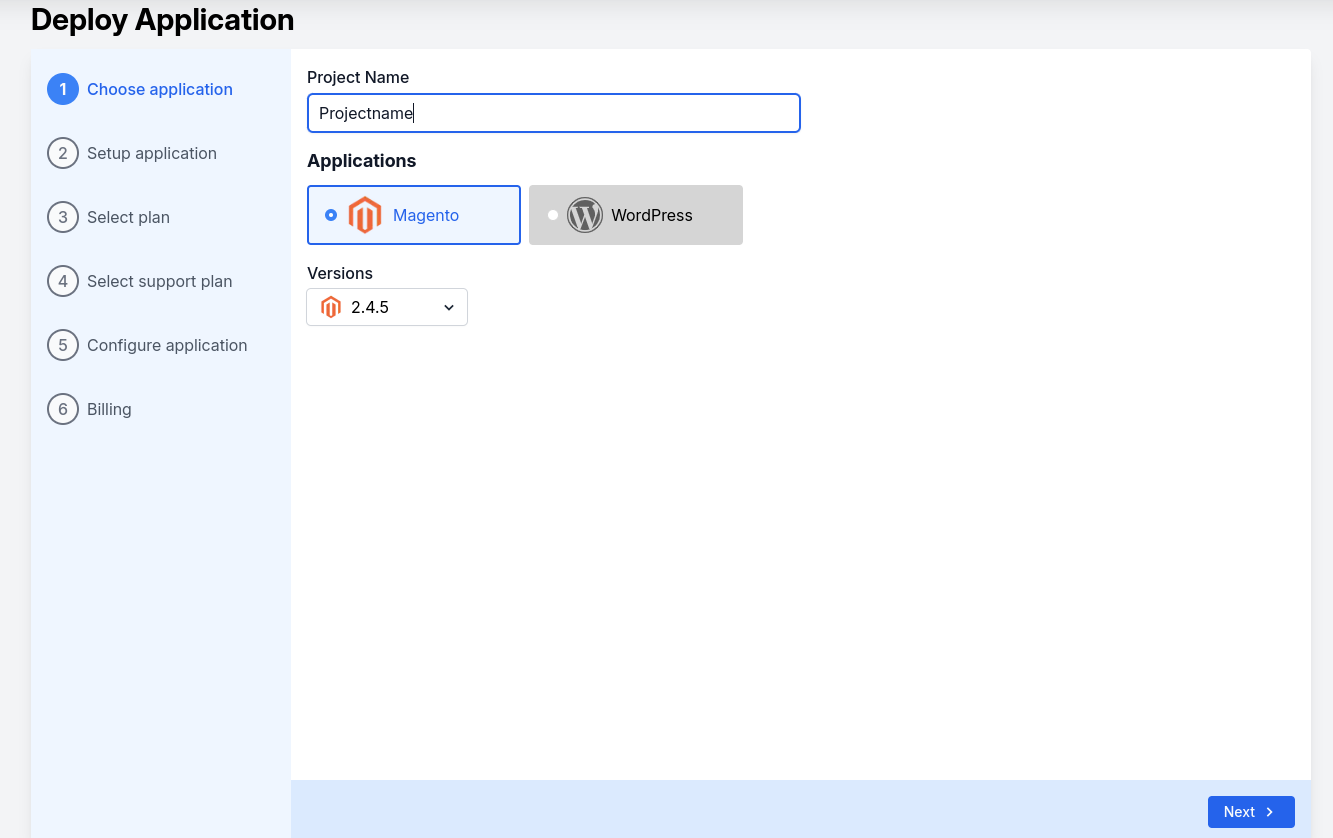
Step 1:
Choose Application:
Project Name: Enter the Project Name - It could be your store or brand name.
Application: Magento and Select Version
Do Next
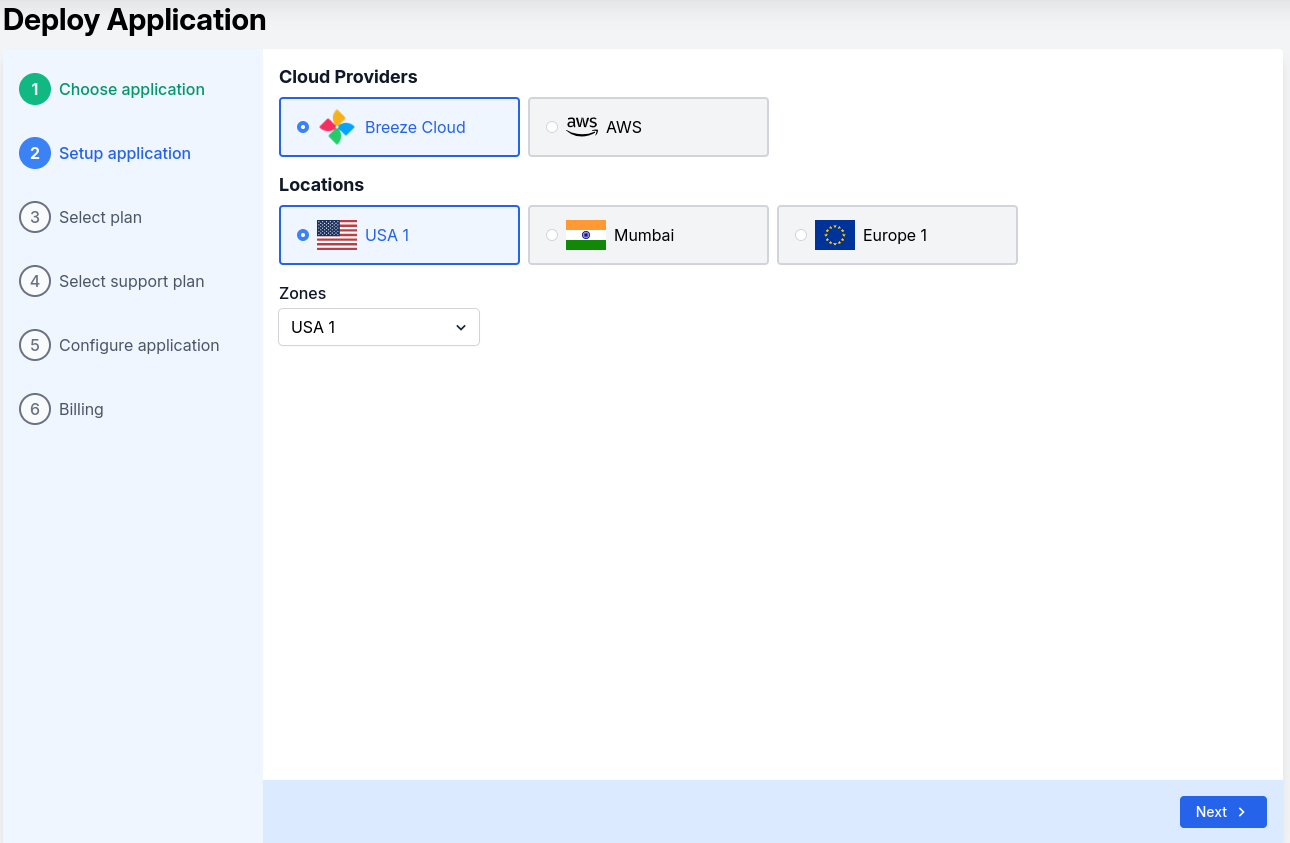
Step 2:
Set up Application:
Choose the cloud provider location and zone.
Below is the screenshot.
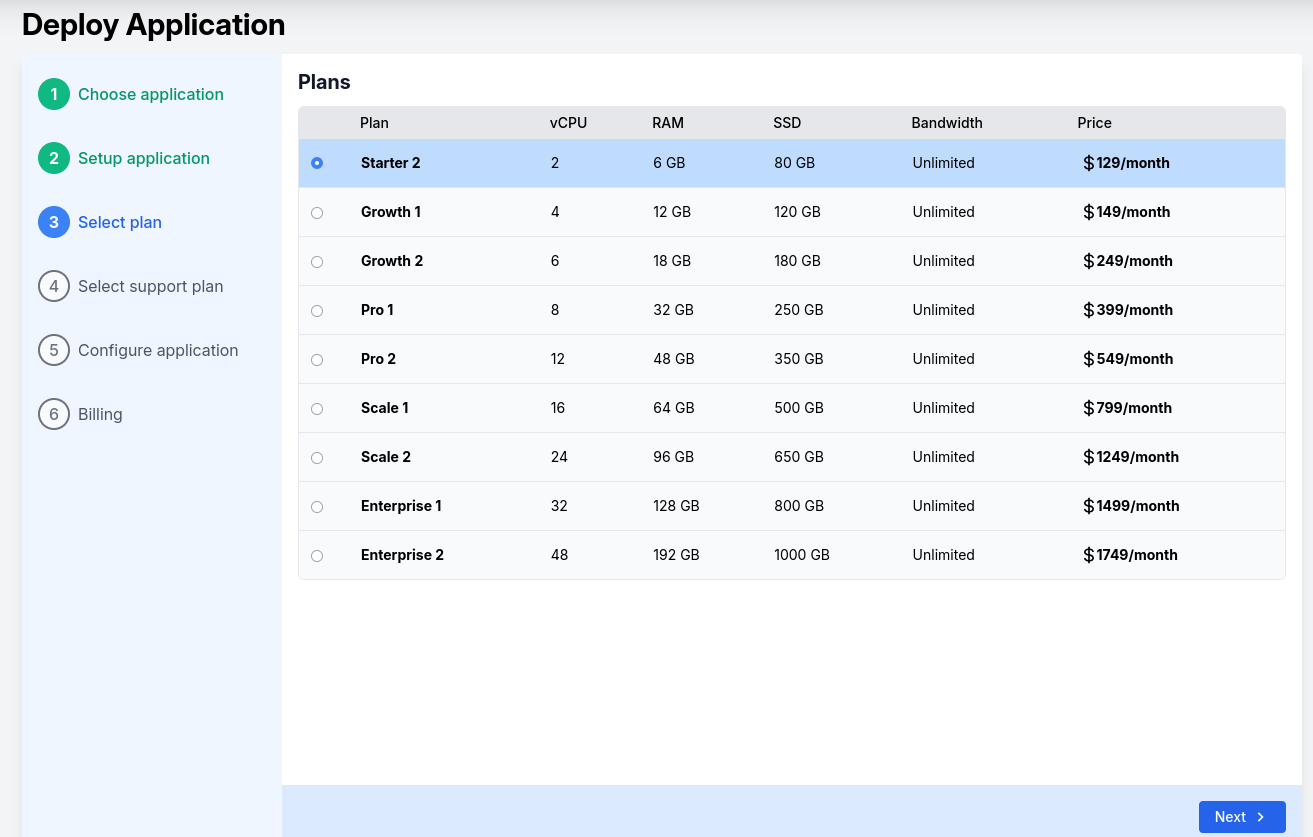
Step 3:
Select Plan:
Step 4: Select Support Plan

Select the plan that suits best for your Magento store. If you are in doubt, please contact us, and we will guide you to pick the best plan.
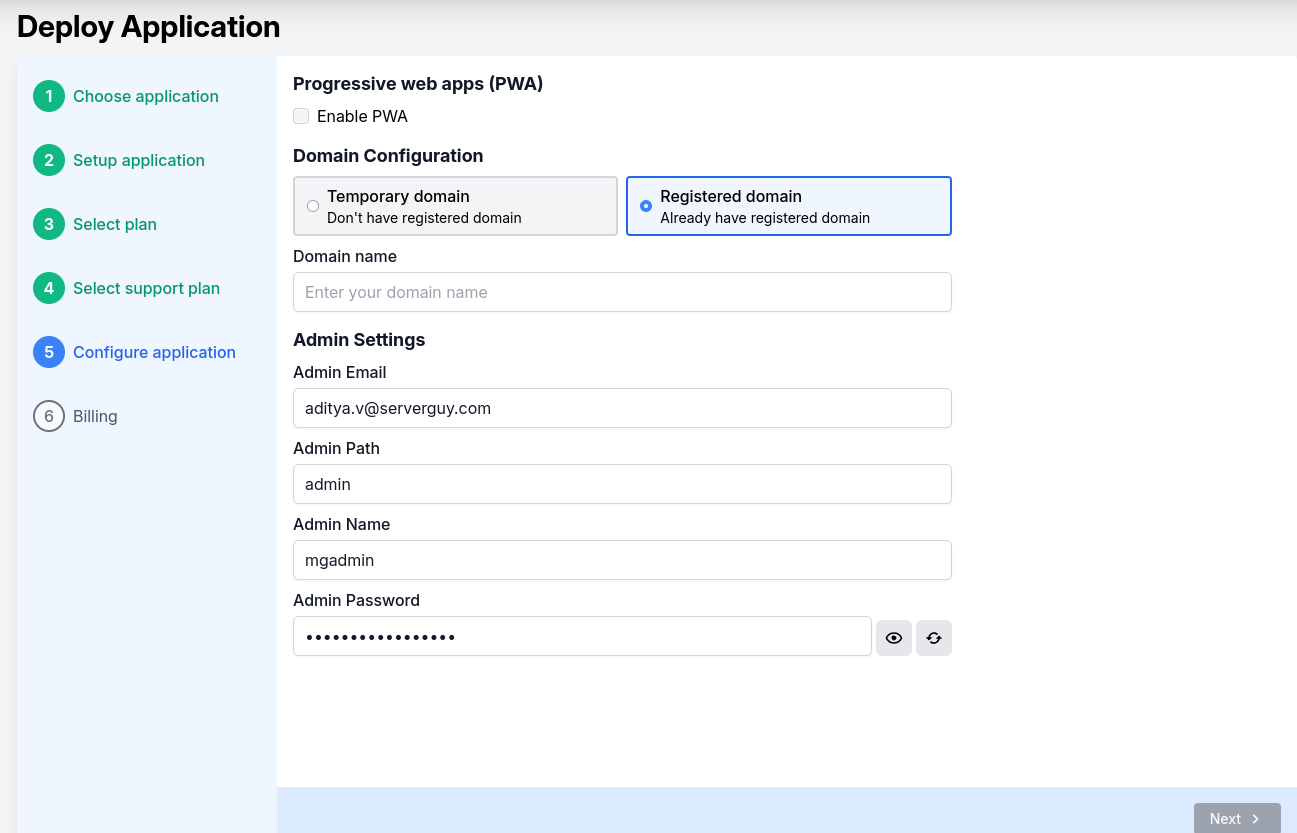
Step 5: Configure Application:
If you want to host Magento PWA then you can check on box. Otherwise, leave that.
Domain Configuration: You can use the BreezeSites.io subdomain as a temporary domain, or you can add your domain. You can switch to a registered domain name at any time later by renaming your domain in the domain settings.
Admin Email: Add the email address that you want to have admin privileges.
Admin Path: The admin path is the login URL. It is typically YourDomain.com/admin. But you can change the path name to anything.
Admin Name: Admin name is the username.
Password: The system will generate a strong password. You can copy it and regenerate it.
Once everything is done, click on Deploy, and watch your store in the process.
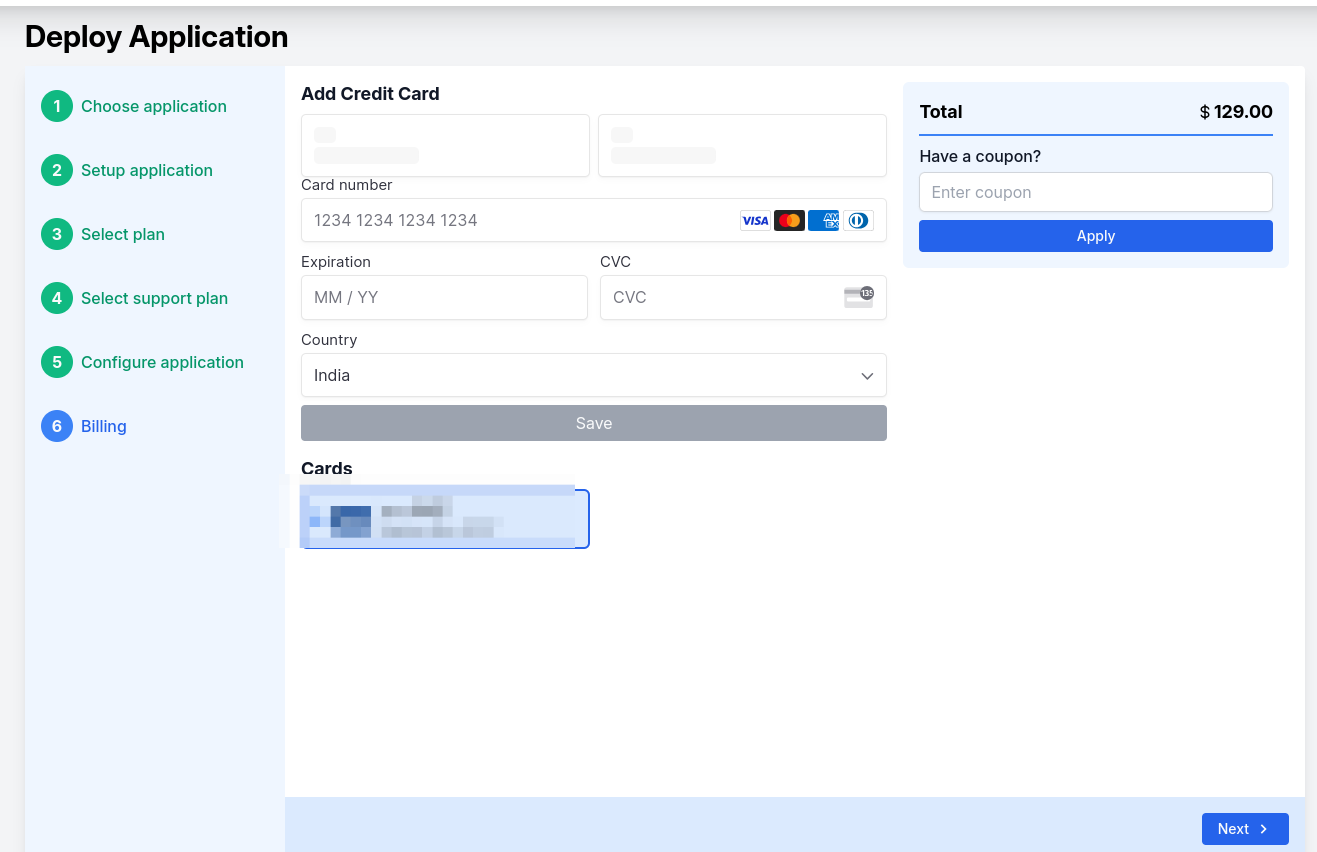
Step 6: Billing
Add your card for the billing and proceed to the next. If you have any coupons, you can apply for them here.
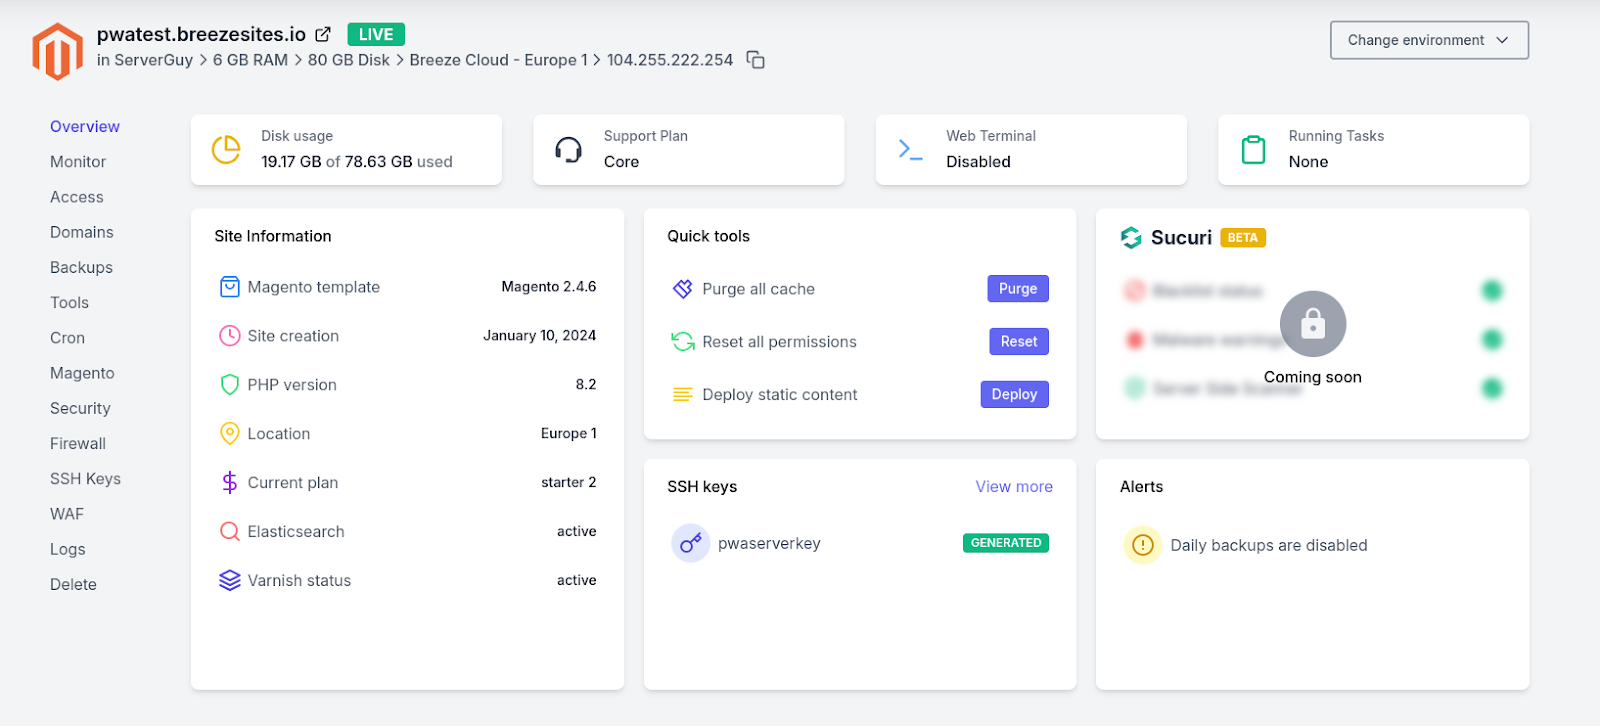
That's it. Your store is ready.
Related Articles
How to Connect SFTP on Breeze?
SFTP or Secure File Transfer Protocol is a standard communication protocol used for the transfer of computer files from a server to a client on a computer network. It requires a connection between the client and the server, but unlike FTP, SFTP ...How to make Magento Multi Store in Breeze?
If you want to expand the business by adding multiple stores under a single administration, Magento multiple stores can help you. You can create multiple stores directory from the Breeze Platform. Follow the steps below: Step 1: Login to Breeze ...How to add/remove cron jobs in Breeze?
Cron is a time-based job scheduler in Unix-like computer operating systems. It is used to run tasks at certain times or dates. A user creates a crontab, a configuration file that describes the task and the schedule. Cron is a powerful tool which is ...How to delete a site from Breeze?
Whether you want to delete it entirely or to remove it from the Breeze platform, you can do so in a few steps. Deleting the website will delete all the database and staging environment of the website. So take backups before deleting the site. ...What Is My Site IP Address (IPv4)?
You can locate the site IP address in the Domain tab in the Breeze Platform. Point your domain to this IP address to load your site on the domain name. Locate IP Address of the Site? To find the IPv4 address of your site, follow these steps: Step 1: ...